Just because interior painting seems straightforward doesn’t mean it lacks challenges. You must understand surface preparation, selecting the right paint, and implementing safe practices to achieve a flawless finish. This guide will equip you with vital tips and techniques to enhance your skills and ensure that your painting project in Glen Allen, VA is both beautiful and durable. By following these best practices, you can transform your space while avoiding common pitfalls that can lead to costly mistakes.
Key Takeaways:
- Prepare the surface properly by cleaning, sanding, and priming to ensure optimal paint adhesion.
- Select high-quality paint and tools to achieve a professional finish and durability.
- Utilize proper painting techniques, such as cutting in and rolling, to enhance efficiency and coverage.
Selecting the Right Materials for a Flawless Finish
Choosing the correct materials can significantly impact the outcome of your painting project. High-quality paint, brushes, and rollers ensure smooth application and durability, while the right primer enhances paint adhesion. Selecting materials tailored to your specific needs will result in a professional finish that stands the test of time.
Paint Types: Choosing Between Latex and Oil-Based
When deciding between latex and oil-based paints, consider the surface and desired finish. Latex paints dry quickly, are easy to clean up, and have low VOC levels, making them ideal for interior spaces. In contrast, oil-based options provide a durable finish but require solvents for cleanup and take longer to dry. Your choice should reflect the specific requirements of your project.
- Latex paints dry fast and are user-friendly.
- Oil-based paints deliver a hard finish.
- Interior spaces benefit from low-VOC options.
- Cleanup is easier with latex varieties.
- Knowing the characteristics of each type will help you make the best choice.
| Paint Type | Characteristics |
| Latex | Fast drying, low odor, easy cleanup |
| Oil-Based | Durable, longer drying time, high gloss |
| Primer | Enhances adhesion, evens out surface |
| Finish Options | Matte, eggshell, satin, semi-gloss, gloss |
| VOC Levels | Low or zero options for better air quality |
Essential Tools: Brushes, Rollers, and More
Your choice of tools can make or break your painting experience. Invest in high-quality brushes and rollers designed for the type of paint, as they provide the best results. A 2½-inch angled brush is perfect for cutting in around edges, while a roller is ideal for large walls. Paint trays, painter’s tape, and drop cloths are also imperative for a clean workspace.
Brushes and rollers serve as the foundation for achieving a seamless paint application. A high-density foam roller can help eliminate texture while applying latex paint, ensuring a smooth surface. For oil-based paints, use a natural bristle brush for optimal distribution. Accessories, such as paint trays and painter’s tape, are vital for maintaining clean lines and protecting surfaces, ultimately resulting in a professional-looking finish. Prioritize your tools, as they significantly contribute to the effectiveness and efficiency of your painting project.
Mastering Surface Preparation Techniques
Effective surface preparation is vital for achieving a professional-looking paint job. This process involves more than just a quick wipe-down; it requires thorough cleaning, repairs, and priming to ensure the paint adheres properly and lasts longer. Skipping these steps can lead to peeling, bubbling, or uneven coverage down the road, undermining your hard work.
The Importance of Cleaning and Repairing
Cleaning surfaces removes dirt, grease, and dust that can impede adhesion, enhancing paint durability. Repair any imperfections—fill holes, cracks, or dents with appropriate fillers before painting. A well-prepped surface not only looks better but also extends the life of your paint job, as a clean and smooth base allows for even application.
Proper Priming: When and How to Use It
Using a primer can significantly improve paint performance, especially on porus or repaired areas. Apply primer when transitioning from dark to light colors, painting over stains, or using a new material. Priming helps to seal the surface, ensuring that your topcoat adheres properly and the color remains consistent.
Applying primer is particularly beneficial in high-moisture areas like kitchens and bathrooms, where it can act as a barrier against mold and mildew. Choose a high-quality primer suited for your specific project—a high-shellac primer is great for stains, while an acrylic latex one is ideal for drywall. Use a roller for large areas and a brush for corners or trim to work the primer into the surface effectively. Allow it to dry completely before applying your topcoat to ensure optimal adhesion and finish quality.
Crafting a Strategic Painting Process
Establishing a strategic painting process streamlines your workflow and achieves the best results. Begin by planning the scope of your project, including color selection and material requirements. Preparing the area by cleaning, priming, and repairing surfaces sets a solid foundation. Organizing your tools and setting up a work sequence facilitates efficiency, allowing you to focus on applying your chosen paint with precision.
The Importance of Lighting and Ventilation
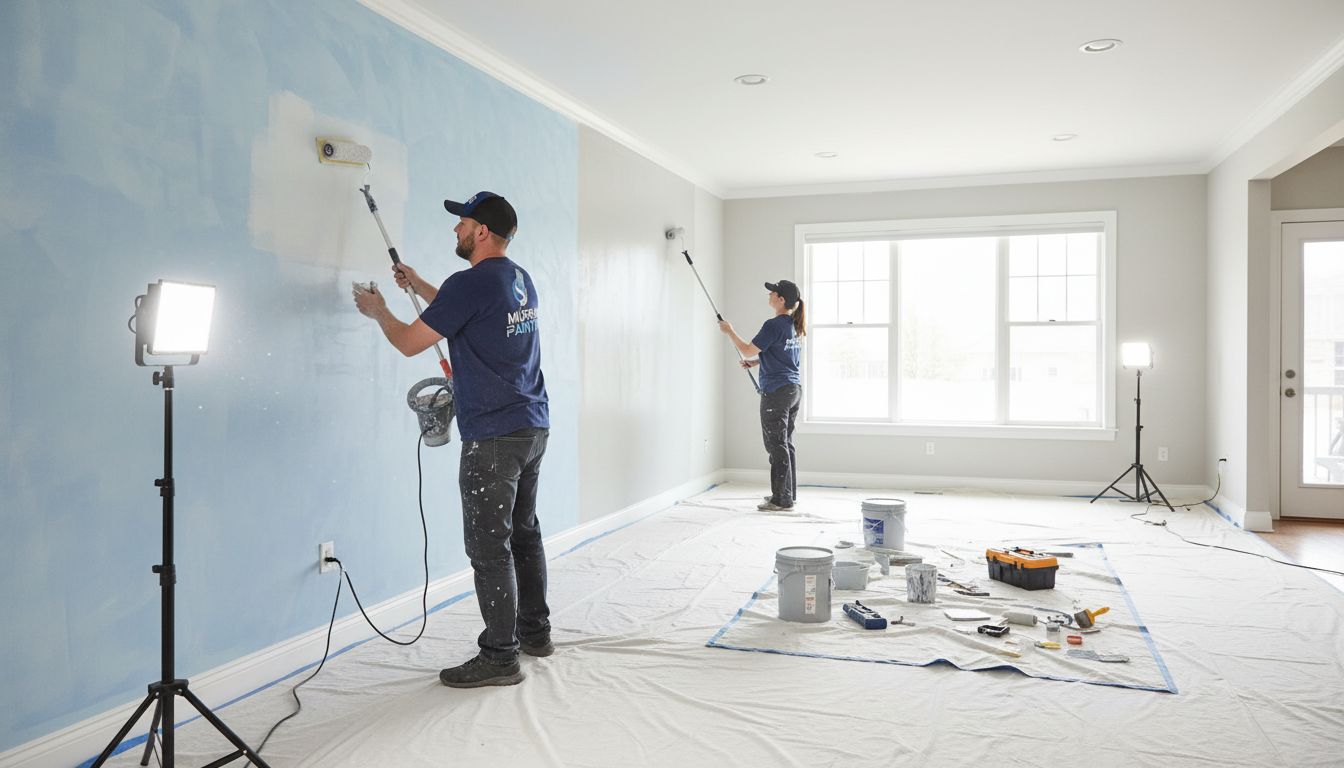
Proper lighting and ventilation are necessary for achieving optimal results during your painting project. Well-lit spaces allow for accurate color assessment and spotting imperfections. Adequate ventilation helps paint dry evenly, reducing toxic fume buildup and ensuring a comfortable working environment.
Step-by-Step Application: From Edges to Broad Areas
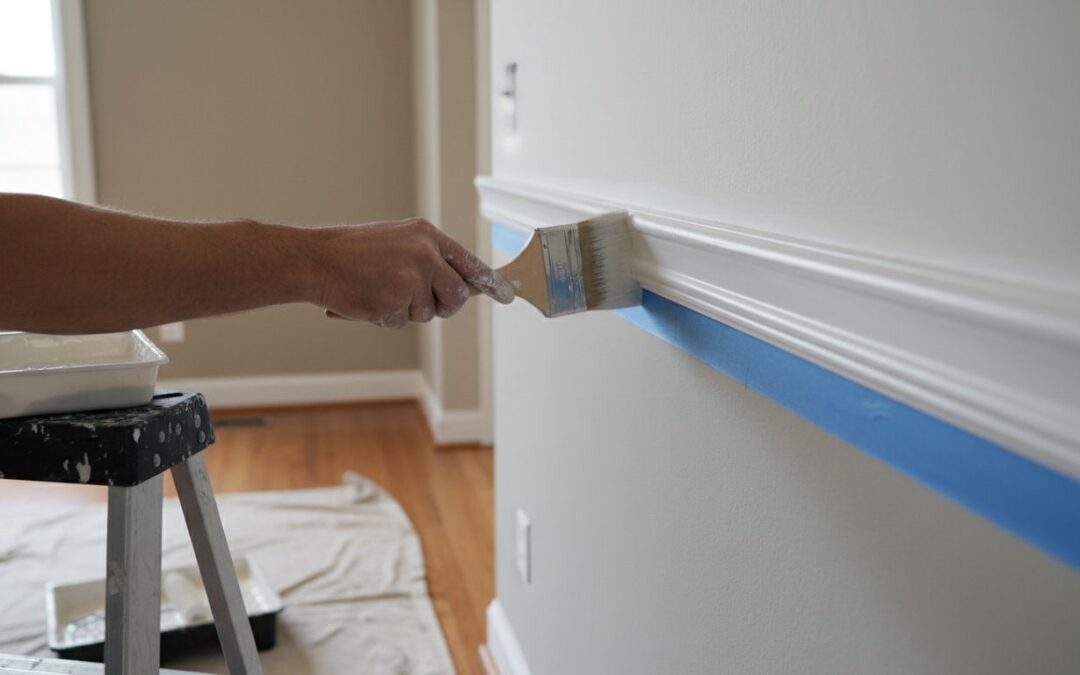
Begin painting by tackling edges and corners to ensure clean lines. Use a brush for precision, then move to larger wall sections with a roller. Techniques like “cutting in” along the edges prevent overlap, while rolling expands your coverage area efficiently. This method ensures a consistent finish and helps avoid visible brush marks.
Step-by-Step Application Process
| Step | Description |
| 1 | Prep the area by cleaning walls and taping edges. |
| 2 | Apply primer on patched areas to promote adhesion. |
| 3 | Use a brush to cut in around trim and corners. |
| 4 | Roll paint onto larger wall sections for uniform coverage. |
| 5 | Inspect for imperfections and apply a second coat if necessary. |
Focusing on a systematic painting approach enhances your overall efficiency. Start by prepping surfaces, which involves cleaning, sanding, and taping edges to avoid spills. After preparing, use a brush for precision work along corners and trim, then follow up with a roller to cover broader areas swiftly. Consistency is key; ensure each section is seamlessly blended by working in small manageable areas and checking for overlap. This step-by-step method minimizes errors and achieves a professional look.
Additional Details on Step-by-Step Application
| Technique | Benefits |
| Cutting in | Creates clean edges without tape. |
| Rolling | Expands paint coverage quickly and evenly. |
| Using quality brushes | Ensures even application and reduces shedding. |
| Flexible working | Adapts to the room’s unique features for a better fit. |
Achieving Professional Results with Color Theory
Mastering color theory elevates your interior painting projects to a professional level. Understanding the color wheel, primary and secondary colors, and color harmony will help you select palettes that enhance your space. Complementary colors create striking contrasts, while analogous colors produce soothing, cohesive looks. A thoughtful application of this knowledge ensures that your choices resonate well within the intended setting, making a significant impact on your home’s appearance.
The Psychology of Color: Setting the Mood
Your choice of color significantly affects the emotional ambiance of a room. For instance, warm colors like reds and oranges evoke excitement and energy, ideal for social areas. Conversely, cool hues such as blues and greens promote calm and relaxation, perfect for bedrooms or meditation spaces. An understanding of color psychology empowers you to create an environment that reflects your desired mood and personality.
Advanced Techniques: Mixing and Layering Colors
Mixing and layering colors can transform basic tones into rich, textured finishes. By blending paints, you can achieve unique shades that resonate with your aesthetic vision. Techniques like glazing, outlining, and scumbling provide depth and complexity to your paintings. Carefully experimenting with proportions and tools will yield results that look professionally done, elevating the overall design of your space.
Key Techniques in Mixing and Layering Colors
| Technique | Description |
| Glazing | Applying a transparent layer over dry paint to modify color depth. |
| Scumbling | Applying a lighter, opaque color over a dried darker layer for texture. |
| Color Wash | Diluting paint with water to create a translucent effect on surfaces. |
Mixing and layering colors allows you to create depth and interest within your space. For example, experimenting with a glaze over a base coat softens the look and adds dimension. Using a sponge or brush, you can apply a second layer in varying intensities across the surface, producing an engaging look. The key lies in patience and practice; the more you work with the materials, the more you discover unique combinations that reflect your style.
Essential Tools for Mixing and Layering Colors
| Tool | Function |
| Palette Knife | Perfect for blending and mixing paints thoroughly. |
| Flat Brush | Ideal for applying broad strokes and layering techniques. |
| Sponges | Useful for texturing and adding organic layers to backgrounds. |
Troubleshooting Common Painting Issues
Even the best-laid plans can encounter issues during your painting project. Familiarizing yourself with common problems helps you address them promptly. Issues like uneven coverage, paint drips, and premature peeling can undermine your hard work. Knowing how to troubleshoot these common hurdles ensures a smoother experience and a more satisfying outcome with your interior paint job.
Fixing Mistakes: Drips, Runs, and Streaks
Drips, runs, and streaks can mar an otherwise flawless finish. If you encounter drips while painting, allow the paint to dry completely, then carefully sand the affected area until smooth. For runs, you can gently scrape away excess paint with a utility knife. Streaks may indicate inadequate coverage, requiring a reapplication of paint in those areas for a uniform look.
Maintaining Longevity: Protecting Your Investment
Protecting your painted surfaces ensures they remain vibrant and free of damage over time. Utilizing high-quality primers and paints enhances durability, while proper application techniques reduce the risk of chipping and fading. Regular cleaning with mild detergents helps maintain appearance without harming paint. Additionally, using protective sealants can provide an extra layer of defense against scuffs and stains.
Implementing strategies for maintaining the longevity of your paintwork extends beyond just cleaning and sealants. Consider the natural light exposure in each room, as it can influence how quickly paint fades—which is especially relevant for lighter colors. Applying touch-up paint preemptively in high-traffic areas can preserve aesthetic appeal, while avoiding harsh chemicals in cleaning products protects your finish. Keeping humidity levels stable also plays a pivotal role in preventing peeling or bubbling, ensuring your investment lasts for years to come.
Final Thoughts on Elevating Your Interior Space
Taking Your Project to the Next Level
Transforming your interior space goes beyond just applying paint; it’s about creating an atmosphere that resonates with your personality and lifestyle. Utilizing quality materials not only enhances the finish but also ensures durability, saving you money in the long run. Consider experimenting with different textures and finishes to add depth, such as matte for a modern look or gloss for a bright, reflective effect. Incorporating accent walls can create focal points and make smaller rooms feel larger, reinforcing the power of strategic color placement in your home. Elevated spaces reflect your unique style and enhance overall comfort.
FAQ
Q: What preparation is needed before starting an interior painting project?
A: Proper preparation involves clearing the area of furniture, covering floors and remaining furniture with drop cloths, cleaning the walls to remove dust and grease, and repairing any holes or cracks in the surfaces.
Q: How do I choose the right type of paint for my interior walls?
A: Select a paint type based on the room’s function. For high-traffic areas, use durable, washable paints like satin or eggshell. For low-traffic areas, flat or matte finishes may work well.
Q: What is the best way to apply paint for a smooth finish?
A: Use high-quality brushes and rollers for application. Start from the corners and edges with a brush, then use a roller for larger areas. Apply paint in even strokes and avoid overloading the brush or roller.
Q: How many coats of paint should I apply?
A: Typically, two coats of paint are recommended for even coverage, especially when changing colors or using lighter shades over dark ones.
Q: What is the ideal drying time between coats?
A: Allow each coat to dry for the time specified on the paint can, usually between 2 to 4 hours, depending on humidity and temperature conditions.
Q: How do I clean my brushes and rollers after painting?
A: Clean brushes and rollers with warm soapy water if using latex paint. For oil-based paint, use mineral spirits or paint thinner. Rinse thoroughly before storing.
Q: Are there any safety precautions to take while painting indoors?
A: Ensure adequate ventilation by opening windows and using fans. Wear protective gear, including gloves and masks, to avoid inhaling fumes or coming into contact with paint.